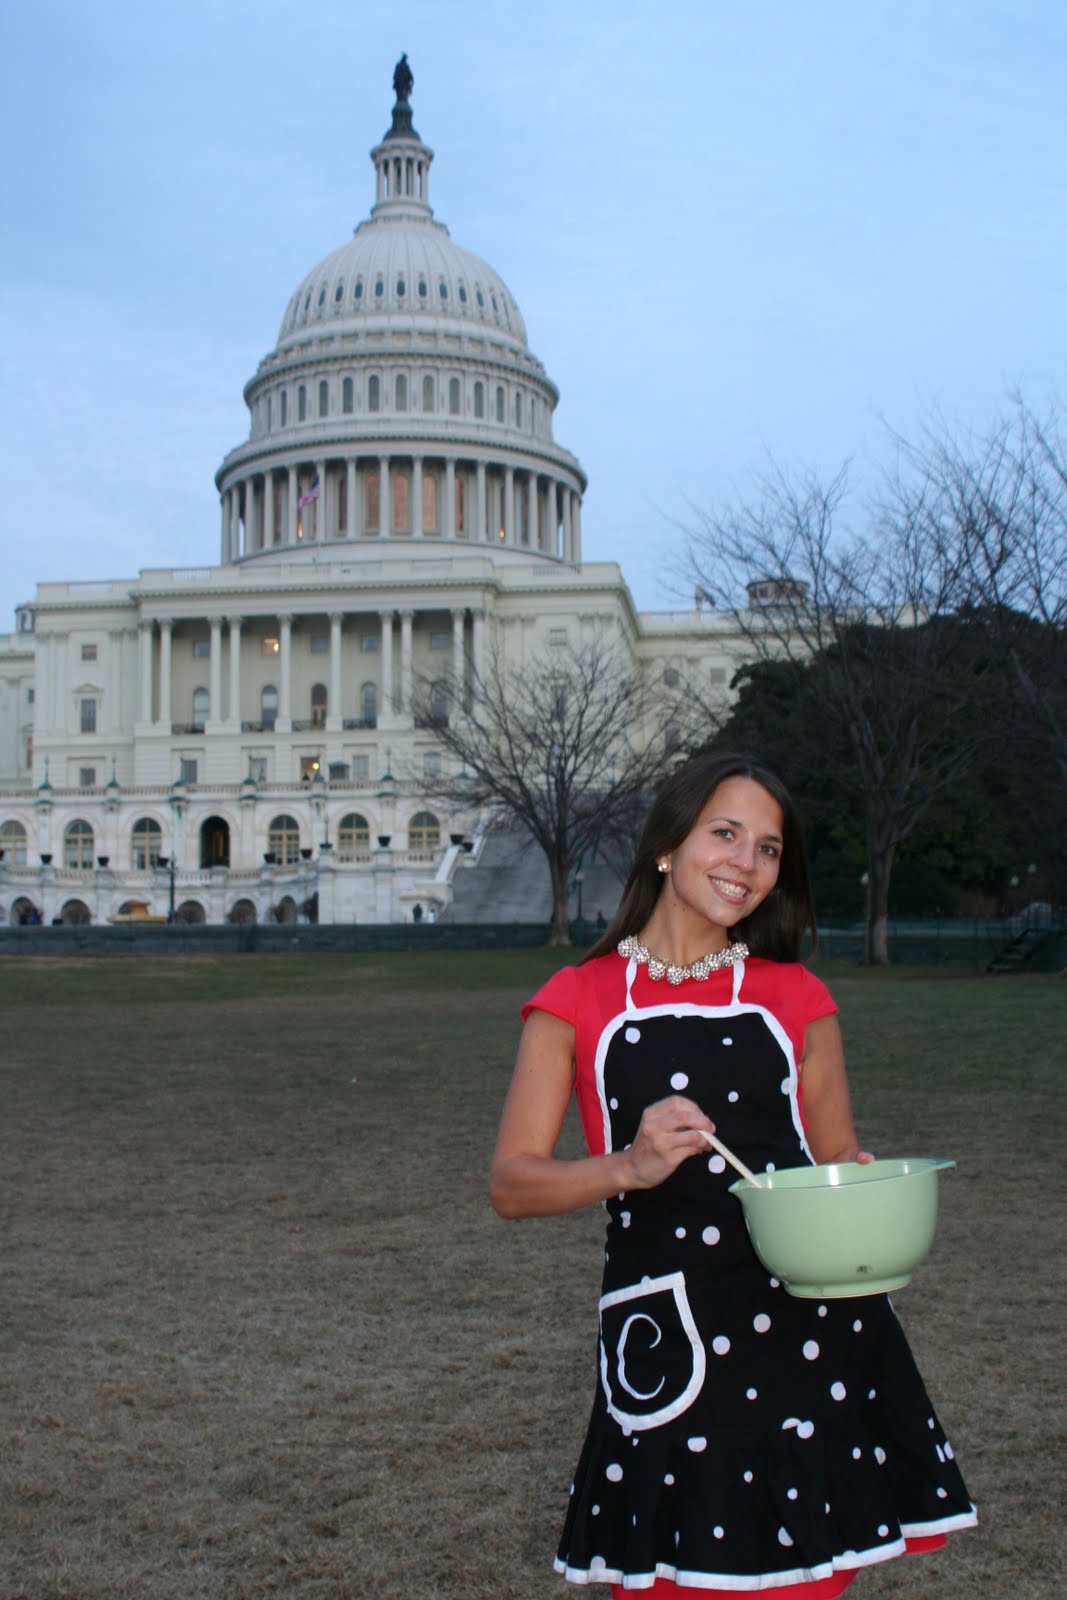
Friday, October 1, 2010

Pumpkin Flan


Two pumpkin posts in a row? Overkill? Probably—my husband isn’t complaining though, and my house smells absolutely edible. Flan purists will turn their nose at this gringo version of flan, but I gave a piece to our Salvadorian neighbor, a self proclaimed flan aficionado, and he LOVED it. So clearly, it must be good.

Like pumpkin bread, this is one of those recipes that I really only make October through December. Obviously, there is nothing actually preventing me from making pumpkin recipes mid-July, but would the Starbucks Pumpkin Spice Latte be as exciting if it was readily available all year round? Probably not, so I like to keep these things special. And actually, I have come to love this flan so much, I think it might make its first appearance at Thanksgiving this year since I have appointed myself head of desserts (I should probably let my family know that at some point). Don’t get me wrong, I love plain old pumpkin pie, but sometimes, it is fun to add a little variety to the typical Thanksgiving dessert spread. Last year, I brought pumpkin cheesecake, and that was a huge hit.

In terms of preparation, this can be made a day ahead (or possibly 2 if you really don’t have time the day before). Flan seems like one of those dishes that would be really difficult to make, but besides needing to move rather quickly when pouring the caramel into the souffle dish (see Step 2) there is nothing very technical about this recipe. So with that said, get baking and enjoy!

And next week, I will post something with meat…and vegetables. I think I need more balance in my life, but I suppose pumpkin could count as a vegetable too?


Here is what you will need:

 I almost forgot to include the most important ingredient!


Secret Ingredient
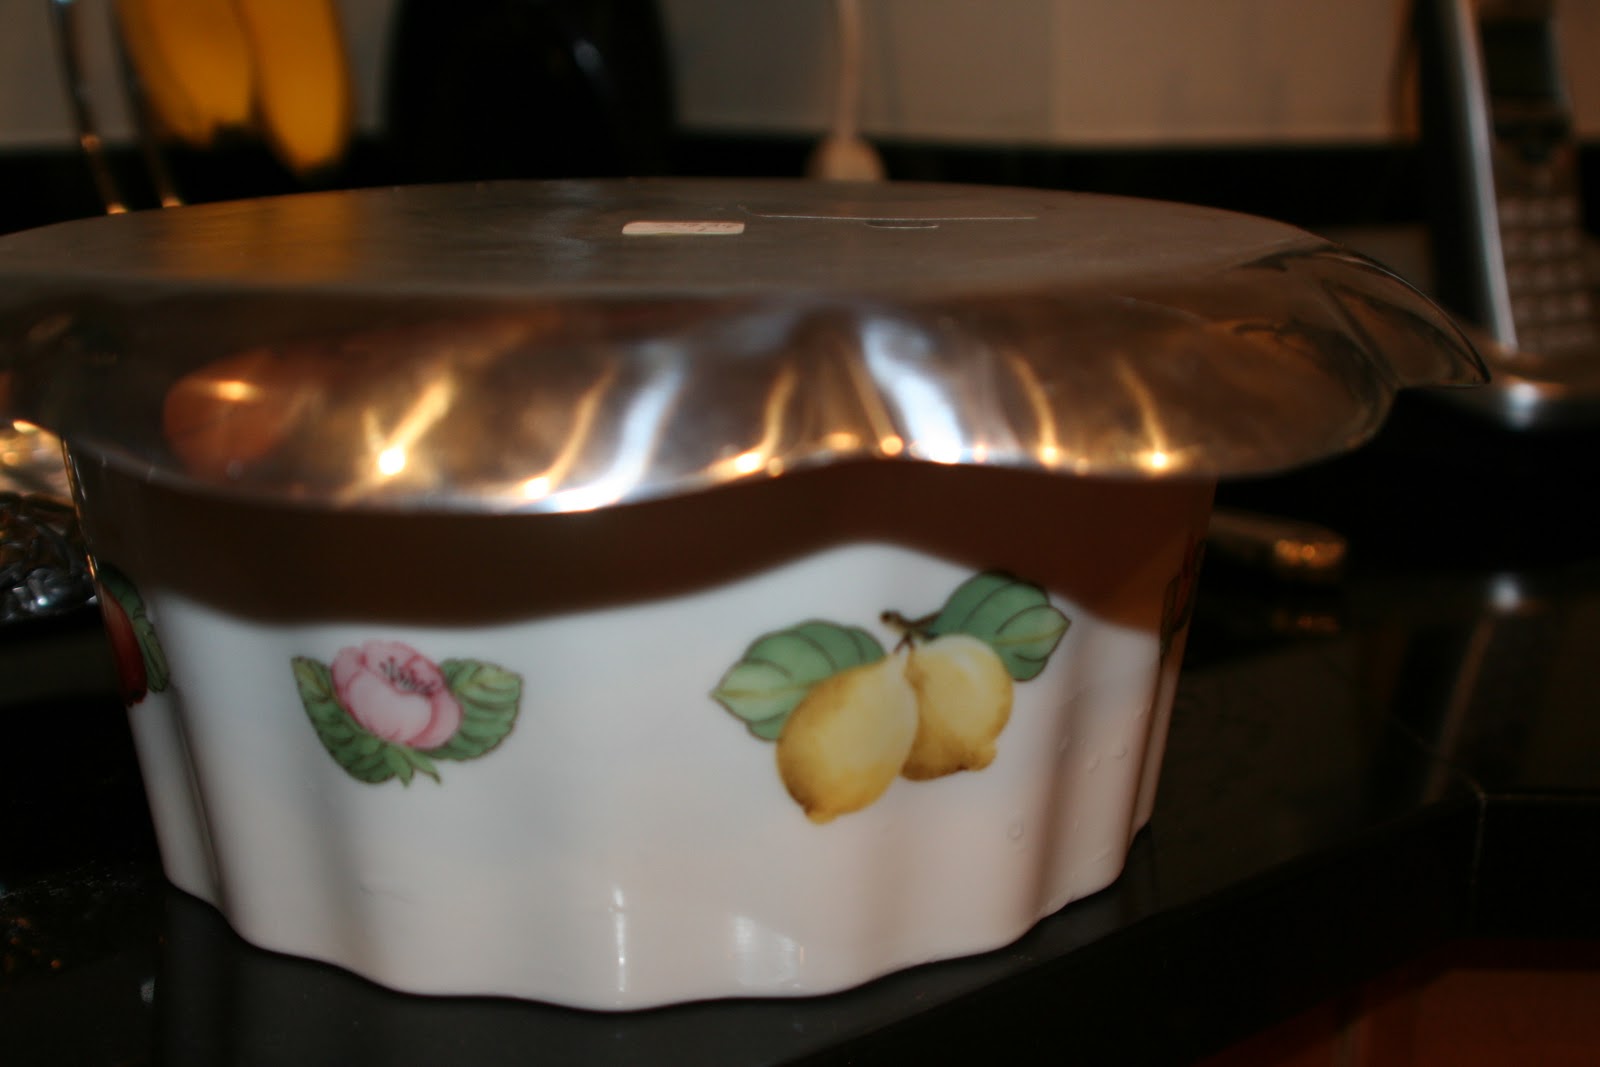
Step 1: Heat a 2-quart souffle dish or round ceramic casserole in middle of oven. Cook 1 cup sugar in a dry 2-quart heavy saucepan over moderately low heat, stirring slowly with a fork, until melted and pale golden. Cook caramel without stirring, swirling pan, until deep golden, about 5 minutes.


Step 2: Quickly and carefully remove hot dish from oven and immediately pour caramel into dish, tilting it to cover bottom and sides. (Leave oven on.) Keep tilting as caramel cools and thickens enough to stay in place.


Step 3: Scald whole milk with evaporated milk in a saucepan and remove from heat. (Basically heat it until it is just at a boil.)

Step 4: Beat eggs and remaining cup sugar with an electric mixer until smooth and creamy.


Step 5: Beat in salt, pumpkin, tequila, and spices.


Step 6: Pour milk mixture through a sieve into a bowl and beat into pumpkin mixture in a slow stream until combined well.


Step 7: Pour custard over caramel in dish and set in a water bath of 1 inch hot water. Put pan in middle of oven and lower temperature to 350°F. Bake until golden brown on top and a knife inserted in center comes out clean, about 1 1/4 hours, possibly longer.


Step 8: Remove dish from water bath and transfer to a rack to cool. Chill flan, covered, until cold, at least 6 hours.

Step 9: To unmold flan, rest souffle dish in about 2 inches of warm water for 30 seconds. This helps warm the caramel. Then take a thin knife around flan to loosen the flan from the sides of dish. Wiggle dish from side to side and, when flan moves freely in dish, invert a large serving platter with a lip over dish. Holding dish and platter securely together, quickly invert and turn out flan onto platter. Caramel will pour out over and around it.


Source: Epicurious.com

Ingredients

2 cups sugar
1 cup whole milk
2 (5-oz) cans evaporated milk (1 1/3 cups)
5 large eggs
1/4 teaspoon salt
15-oz can solid-pack pumpkin (1 3/4 cups)
2 tablespoons premium golden agave tequila such as Herradura Reposado, or bourbon
2 teaspoons ground cinnamon
1 teaspoon ground ginger
1/4 teaspoon ground allspice
1/4 teaspoon ground nutmeg


Directions

Preheat oven to 375°F. Place a large pot of water to boil (this hot water will be used for the water bath)

Heat a 2-quart souffle dish or round ceramic casserole in middle of oven.

Cook 1 cup sugar in a dry 2-quart heavy saucepan over moderately low heat, stirring slowly with a fork, until melted and pale golden. Cook caramel without stirring, swirling pan, until deep golden, about 5 minutes. Quickly and carefully remove hot dish from oven and immediately pour caramel into dish, tilting it to cover bottom and sides. (Leave oven on.) Keep tilting as caramel cools and thickens enough to stay in place.

Scald whole milk with evaporated milk in a saucepan and remove from heat. Beat eggs and remaining cup sugar with an electric mixer until smooth and creamy. Beat in salt, pumpkin, tequila, and spices. Pour milk mixture through a sieve into a bowl and beat into pumpkin mixture in a slow stream until combined well.

Pour custard over caramel in dish and set in a water bath of 1 inch hot water. Put pan in middle of oven and lower temperature to 350°F. Bake until golden brown on top and a knife inserted in center comes out clean, about 1 1/4 hours, possibly longer. Remove dish from water bath and transfer to a rack to cool. Chill flan, covered, until cold, at least 6 hours.

To unmold flan, rest soufflé dish in about 2 inches of warm water for 30 seconds. This helps warm the caramel. Then take a thin knife around flan to loosen the flan from the sides of dish. Wiggle dish from side to side and, when flan moves freely in dish, invert a large serving platter with a lip over dish. Holding dish and platter securely together, quickly invert and turn out flan onto platter. Caramel will pour out over and around it.

Friday, September 24, 2010

Pumpkin Bread


Fall is here! Well, maybe not today…today it is going up to 97, but last weekend, it was fall, I swear. There was a cool, crisp breeze in the air, and it felt amazing. This time of year means 2 things in my household (1) time to put away our summer whites and try and remember where I managed to store all of our winter clothes (living in an apartment means being very creative with storage space, and sometimes I forget just exactly where I stored things 6 months ago) and (2) pumpkin bread. Actually, not just pumpkin bread—pumpkin pancakes, pumpkin flan, pumpkin soup, and the list goes on. Pumpkin bread is my favorite though. I absolutely love how the smell fills the entire apartment for days. My goal this fall is to learn how to use real pumpkin, but I haven’t seen any pumpkins at the grocery store yet, so for now, I’m sticking to the canned stuff. If anyone has any helpful tips on using real pumpkin, please feel free to share!


This recipe makes 2 loaves. Sometimes I throw in a cup of walnuts or chocolate chips, depending on the audience. I should add that this is my favorite pumpkin bread recipe, and I have my high school senior cookbook to thank. I believe this recipe was originally published in bon appétit magazine, and it became a favorite at potluck brunches.


Here is what you will need:

Step 1:  Preheat oven to 350 degrees. Butter and flour two 9x5x3-in. or 8.5x3.5x3-in loaf pans. Beat sugar and oil in a large bowl to blend.

 Step 2: Mix in eggs and pumpkin.

Step 3: Sift flour, cloves, cinnamon, nutmeg, baking soda, salt, and baking powder in another large bowl.


 Step 4: Stir into pumpkin mixture in 2 additions.


Step 5: Divide batter equally between prepared pans Bake until tester inserted into the center comes out clean, about 1 hour and 10 minutes.


***Now rather that divide the batter into 2 pans, I used the other half of the mixture to make pumpkin chocolate-chip muffins. I added a little less than a cup of chocolate chips and cooked the muffins for around 17 minutes (I made them small). Keep an eye on them.


Ingredients
3 cups sugar
1 cup vegetable oil
3 large eggs
1(16 ounce) can solid pack pumpkin
3 cups all-purpose flour
1 tsp ground cloves
1 tsp ground cinnamon
1 tsp ground nutmeg
1 tsp baking soda
1/2 tsp kosher salt
1/2 tsp baking powder

Preheat oven to 350 degrees. Butter and flour two 9x5x3-in. or 8.5x3.5x3-in loaf pans. Beat sugar and oil in a large bowl to blend. Mix in eggs and pumpkin.
Sift flour, cloves, cinnamon, nutmeg, baking soda, salt, and baking powder in another large bowl. Stir into pumpkin mixture in 2 additions. Divide batter equally between prepared pans Bake until tester inserted into the center comes out clean, about 1 hour and 10 minutes.* Transfer to racks and cool 10 minutes. Using a sharp knife, cut around the edges of the loaves. Turn loaves out onto racks and cool completely.

*if making muffins, cook 16-20 minutes and test with toothpick.

Thursday, September 2, 2010

Whole-Wheat Brownies


So one of the reasons I started this blog was not only to force myself to constantly try new recipes but to also try recipes I might ordinarily shy away from. Well, this past Sunday, I finally got past my bizarre fear of yeast, and tonight, I finally tried two healthy baking alternatives that I had been curious about for a while now.  This recipe substitutes whole-wheat flour for half of the white flour and applesauce for the oil. I wasn't very confident that I would be blogging about this recipe with positive reviews, but actually, the brownies turned out really well. I couldn't get over how moist they were, and the chocolate chunks sprinkled on top really add a nice touch.

Now, I'm going to break it down: these are not the ultra-rich fudgy brownies you might find at a gourmet bakery, BUT they are a  great weeknight treat that you can eat without feeling super guilty. And the greatest test of all, I didn't reveal to my husband that these were made with whole-wheat flour and applesauce until after he took his second brownie. He genuinely liked them, and he never likes any of the random organic low-fat cookies I bring home from the grocery store.

The final verdict: I probably wouldn't make these for guests or a party (my mom passed on the belief that you don't invite people over to put them on a diet), but I will definitely make these again for myself...and maybe my husband if I decide to share. :-)

(and yes, I am still working on the new website....this may take a while, ha)

THE RECIPE
Here is what you will need:


Step 1:  Preheat oven to 350 degrees. Butter an 8-in. square baking dish; line with parchment paper leaving a 2-in. overhang on all sides. (note: I do not have an 8-in. square baking dish, and I was running out of parchment paper....so this isn't the greatest example, but it did the trick! This makes cutting perfect brownies MUCH easier). Also, go ahead and start boiling water for Step 4.


Step 2:  In a medium bowl, whisk together flours, cocoa, baking powder, salt, and baking soda.


Step 3:  In a large bowl, stir together sugar, applesauce, and egg.


Step 4: Place butter and 6 ounces of chocolate in a heatproof bowl set over (not in) a pot of simmering water; stir until melted. (Note: No need for a fancy double-boiler...just a heat proof bowl over hot water.)


Step 5: Stir chocolate mixture into sugar mixture. Stir in flour mixture.


Step 6: Pour into pan and top with 2 ounces chocolate.


Step 7: Bake until a toothpick inserted in center comes out with moist crumbs attached, 40 minutes. Let cool in pan on a wire rack. Use parchment paper to lift cake from pan and cut into 16 squares.


ENJOY!

Recipe Courtesy: Martha Stewart in her Everyday Food Magazine

Ingredients
6 tablespoons unsalted butter, melted, plus more for pan
1/2 cup all-purpose flour (spooned and leveled)
1/2 cup whole-wheat flour (spooned and leveled)
1/3 cup unsweetened cocoa powder
1 1/4 teaspoons baking powder
1 teaspoon coarse salt
1/4 teaspoon baking soda
1 cup packed light-brown sugar
1 1/4 cups unsweetened applesauce
1 large egg
8 ounces semisweet chocolate, coarsely chopped

Step 1. Preheat oven to 350 degrees. Butter an 8-in. square baking dish; line with parchment paper leaving a 2-in. overhang on all sides. In a medium bowl, whisk together flours, cocoa, baking powder, salt, and baking soda.

Step 2. In a large bowl, stir together sugar, applesauce, and egg. Place butter and 6 ounces of chocolate in a heatproof bowl set over (not in) a pot of simmering water; stir until melted. Stir chocolate mixture into sugar mixture. Stir in flour mixture. Pour into pan and top with 2 ounces chocolate.

Step 3. Bake until a toothpick inserted in center comes out with moist crumbs attached, 40 minutes. Let cool in pan on a wire rack. Use parchment paper to lift cake from pan and cut into 16 squares. (Store in airtight container, up to 5 days) Makes 16.

Sunday, August 29, 2010

CPK's BBQ Chicken Pizza

My first homemade pizza crust!

So this is not counting as my post for the week,* but I could not go to bed without posting about my meal tonight. I am HIGHLY HIGHLY recommending this recipe for California Pizza Kitchen's BBQ Chicken Pizza from Pioneer Woman. If you don't know who the Pioneer Woman is, you've been living under a rock far far away from any food bloggers. When I first came upon her website for last year, "food pornography" was the only way I could describe it. I would love to make all of her recipes, but I'm not quite sure how many hours that would require I spend on the treadmill (they are a bit butter/cream/carb heavy). She does have some "cowgirl" food that is a bit on the healthier side that I have really enjoyed, and of course, her desserts never ever disappoint.

When I saw this recipe for CPK's BBQ Chicken Pizza, I HAD to try it. I was a little bit intimidated because I have never made homemade pizza dough. The idea of using active yeast somehow seemed really complicated to me. It was so incredibly easy though. I honestly can't imagine going back to my store-bought ready-made crust.

Anyway, I hope you all enjoyed your weekend! I should add that I made this meal tonight for my husband because tomorrow is his "first day of school." Good luck, Big Guy!!

*I thought it would seem silly for me to document how to make this recipe since Pioneer Woman does such an incredible job herself. The only comment I will make is that I did not use 16 ounces of mozzarella. I just put enough to cover the entire pizza. Otherwise, it felt like it would have been way too much to use all of it.

Wednesday, August 25, 2010

Pork Tenderloin with Mango Salsa


Hi friends!

I am sure you have been wondering where I have been, and I promise I have not abandoned my blog. Actually, exciting changes will be coming soon, so I am busy trying to work on my new website. Blogger has been good to me, but now that I feel more comfortable in the blogging world, I am beginning to feel a bit limited with blogger’s capabilities. So have patience with me because I think it will be worth it. I have also been savoring the last bits of a summer. Between weddings, baptisms, and family reunions, I am a little behind on logging all of my recent meals, but I am going to try hard to catch up.

I made this recipe for Pork Tenderloin and Mango Salsa a few weeks ago for a going away dinner that I hosted for a couple of dear friends who we were sad to say goodbye to, but HOPEFULLY they will be back soon ;-).

In the summer, I love complimenting meat and fish with fruit salsas. The mango salsa in this recipe can be made a day ahead, and the marinade can be made the morning of, so this doesn’t require too much last-minute preparation which makes it an ideal dinner party go-to recipe. I usually grill it on the stove top just a few minutes before guests are expected to arrive, and then while it cooks in the oven, people have had plenty of time to enjoy a few appetizers and sip on some wine.


For the Mango Salsa....

Step 1: Prepare the mango salsa. As I said in the introduction, this can be done a day in advance. Chop the  mango, bell pepper, red onion, jalapeno, and cilantro. Combine in a bowl.


Step 2: Add lime juice, rice wine vinegar, ginger, and garlic. Season with black pepper. Allow to sit for at least 45 minutes before serving.


Next, prepare the marinade for the tenderloins...


Here is what you will need:


Step 1: Combine the lime juice, 1/2 cup of the olive oil, honey and garlic in a food processor and pulse several times to puree.


Step 2: Put the tenderloins in a large plastic storage bag and pour in the marinade. Seal the bag and refrigerate for at least 1 hour but ideally, I let it sit for 4 hours and rotate the bag ever so often (there are no pictures of this step, my camera battery died, but this is pretty simple).


Time to Prepare the Tenderloins!

Step 1: Preheat the oven to 400 degrees F. Heat a large nonstick ovenproof skillet over high heat and add the remaining 2 tablespoons of olive oil. Remove the tenderloins from the marinade and pat dry. Season the tenderloins on all sides with the salt and pepper.


Step 2: When the skillet is hot, add the tenderloins and sear, turning to ensure even browning, about 4 minutes.

Step 3: Transfer to the oven and cook for 18 to 20 minutes, or until an instant-read thermometer inserted in the thickest part registers 145 degrees F.


Step 4: Remove from the oven and let rest for 5 minutes.


ENJOY!

Recipe Courtesy: Emeril Lagasse

Ingredients for the Tenderloins
3/4 cup fresh squeezed lime juice
1/2 cup plus 2 tablespoons olive oil
3 tablespoons honey
2 tablespoons minced garlic
2 pork tenderloins trimmed (about 2 pounds total)
1 1/2 teaspoons salt
3/4 teaspoon freshly ground black pepper

Combine the lime juice, 1/2 cup of the olive oil, honey and garlic in a food processor and pulse several times to puree. Put the tenderloins in a large plastic storage bag and pour in the marinade. Seal the bag and refrigerate for 1 hour (or up to 4 hours).


Preheat the oven to 400 degrees F. Heat a large nonstick ovenproof skillet over high heat and add the remaining 2 tablespoons of olive oil. Remove the tenderloins from the marinade and pat dry. Season the tenderloins on all sides with the salt and pepper. When the skillet is hot, add the tenderloins and sear, turning to ensure even browning, about 4 minutes. Transfer to the oven and cook for 18 to 20 minutes, or until an instant-read thermometer inserted in the thickest part registers 145 degrees F. Remove from the oven and let rest for 5 minutes.

Ingredients for the Mango Salsa
1 1/2 cups (1/2-inch) diced mango

1/2 cup small diced red bell pepper
1/3 cup finely chopped red onion
2 tablespoons rice wine vinegar
1 tablespoon lime juice
1 tablespoon minced jalapeno
1 tablespoon chopped fresh cilantro leaves
2 teaspoons minced ginger
1 teaspoon minced garlic
Salt and freshly ground black pepper

Place all the ingredients in a non-reactive medium bowl and stir to blend. Cover the bowl with plastic wrap and allow the salsa to macerate at room temperature for 30 to 45 minutes. Remove the plastic wrap and serve with the tenderloins.