Showing posts with label appetizer. Show all posts

Thursday, November 4, 2010

Apple-Butternut Squash Soup


It’s me here---your delinquent blogger. My profound apologies, but this fall has been crazy hectic. It is not that I haven’t been cooking---I have been cooking A LOT and hosting dinners, supper clubs, etc., but I am so pressed for time that documenting each step of the cooking process is just not happening. But lucky for all of you, I absolutely hate cold weather and plan to go into hibernation fairly soon which means lots of staying indoors and lots of time to cook.


So as you will soon learn, I am on a soup kick. It all started a couple of weeks ago when we ate dinner at a friend’s house and had the most fabulous soup. It was a casual dinner with friends, but for some reason, starting off the meal with a nice homemade bowl of soup just kind of kicked the “gourmetness” of the dinner party up a few notches. I loved it so much, in fact, that it finally motivated me to buy an immersion hand blender, so I could also start making creamy soups. I have been trying to avoid the temptation of buying more kitchen gadgets (opening my kitchen cabinets has become hazardous at this point), but the hand blender is well worth it. If you have any creative uses for it other than soups, please feel free to share. ;-)

I was inspired to make this recipe because this past weekend, while visiting my parents in Memphis (see I told you I was busy), my husband ordered Apple-Butternut Squash soup at a restaurant. It was fantastic, and as luck would have it, Martha Stewart has a similar recipe. This soup was delicious, and the spices add a little kick to it. I think the next time I make it though I might use 3 apples instead of 4. I like to have a greater squash to apple ratio, but maybe that’s just me. I also love this soup because it looks so fancy and would make a great first course at a dinner party especially because it can be made a couple of days ahead of time.
Enjoy!


Here is what you will need:


Step 1:  Melt butter in a large saucepan over medium heat. Add onion; cook, stirring occasionally, until it begins to soften, about 4 minutes.


Step 2: Chop the Butternut Squash (I did this the night before to minimize prep time). Add squash, and cook, stirring occasionally, until soft, about 10 minutes.

Step 3: Peel and dice the apples.


Step 4: Add apples, salt, cumin, coriander, ginger, cayenne, black pepper, stock, and the water (just enough to cover). Bring to a boil. Reduce to a simmer, and cook until vegetables are very soft, about 30 minutes.


Step 5: Puree in batches in a food processor or blender until smooth, and return to saucepan. Heat over low, thinning with more water if necessary.


This is what happens when I give my husband the camera.
Step 6: To serve, ladle into shallow bowls; garnish with diced apples, jalapeno slices, and sour cream if desired. 
Recipe Courtesy: Martha Stewart

Ingredients

Serves 6

1 tablespoon unsalted butter
1 medium onion, diced
1 butternut squash (about 2 pounds), peeled, seeded, and chopped
4 red or golden apples, peeled, cored, and chopped, plus 1 apple, finely diced and tossed in lemon juice, for garnish (optional)
2 teaspoons coarse salt
1 1/2 teaspoons ground cumin
1/2 teaspoon ground coriander
1/2 teaspoon ground ginger
1/4 teaspoon cayenne pepper
1/4 teaspoon freshly ground black pepper
2 cups homemade or store-bought low-sodium chicken or vegetable stock
2 1/2 cups water, plus more if needed
1 jalapeno chile, thinly sliced, for garnish (optional)
Sour cream, for garnish (optional)

Directions

1.Melt butter in a large saucepan over medium heat. Add onion; cook, stirring occasionally, until it begins to soften, about 4 minutes. Add squash, and cook, stirring occasionally, until soft, about 10 minutes.

2.Add apples, salt, cumin, coriander, ginger, cayenne, black pepper, stock, and the water (just enough to cover). Bring to a boil. Reduce to a simmer, and cook until vegetables are very soft, about 30 minutes.

3.Puree in batches in a food processor or blender until smooth, and return to saucepan. Heat over low, thinning with more water if necessary. To serve, ladle into shallow bowls; garnish with diced apples, jalapeno slices, and sour cream if desired.

Helpful Hint from Martha Stewart

The soup can be made ahead of time and refrigerated up to 3 days or frozen up to a month; let cool completely before storing in an airtight container. Reheat gently before serving (thaw frozen soup overnight in the refrigerator).

Monday, August 2, 2010

Easy Appetizers: Prosciutto with Figs and Mascarpone Stuffed Dates


I absolutely love hosting people for dinner. I grew up watching my mother host dinner parties, and as soon as I started learning to cook, I began hosting little gatherings. They started off kind of simple in college---paper plates, red solo cups, and friends scattered over my tiny dorm using any available surface as a chair. I still remember the first time I had my husband (then boyfriend) over for dinner. I made him chicken fingers and rice-a-roni. I think I spent the entire day panicking over how to perfectly time the cooking process. Luckily, since then, I have had a bit more practice, and I don’t spend the entire day panicking. Now that I have a few solid “dinner party recipes,” I have time to think about other details like table settings (see flowers below) and of course, appetizers. I am always on the hunt for easy (emphasis on the easy) appetizers, so just in case I am running around at the last moment putting together the salad, etc., my guests have something to munch on.
Recent Flower Arrangements Using Lime Slices


If I am putting together a fancy meal, I don’t like to add any extra stress, so these two appetizers are really simple to put together and can be done in advance (just take them out of the refrigerator about an hour before serving them). The figs stuffed with prosciutto are about as straightforward as it gets. Unfortunately, figs are seasonal, so you can’t count on them being available when you need them. The stuffed dates take a few extra minutes, but they are worth it. There are several different ways to prepare dates as an appetizer—the most popular being bacon-wrapped dates—but I wanted to try something a little different, and you can never go wrong with mascarpone cheese.


Recipe for Figs Stuffed with Prosciutto


Delicious Fresh Figs

Step 1: Using a sharp knife, make a cross-shaped slit in each fig, cutting only three-fourths of the way through the fruit.


Step 2: Roll a slice of prosciutto and tuck it into the slit of the fig. Repeat until all the figs are stuffed. Cover with plastic wrap and refrigerate. Remove 1 hour before serving.


Recipe for Mascarpone Stuffed Medjool Dates

Step 1: Make a cut the length of the date and remove pit. Place pitted dates on a plate and set aside.

Step 2: In a small bowl combine cheese, honey and lemon zest with a spatula until mixed well.

Recipe Courtesy: Gourmet Girl

 Step 3: Carefully fill each date with about 2 teaspoons of the cheese mixture. Place a pecan on top of each filled date. Cover with plastic wrap and refrigerate. Remove 1 hour before you are ready to serve.


Enjoy!


Ingredients for Figs Stuffed with Prosciutto
Figs (at least 2 per guest)
Prosciutto (1 slice per fig)

Directions
Step 1: Using a sharp knife, make a cross-shaped slit in each fig, cutting only three-fourths of the way through the fruit.
Step 2: Roll a slice of prosciutto and tuck it into the slit of the fig. Repeat until all the figs are stuffed. Cover with plastic wrap and refrigerate. Remove 1 hour before serving.


Ingredients for Marscarpone Stuffed Medjool Dates
1 8oz container Mascarpone cheese, at room temperature
1 lb. Medjool Dates
1 teaspoon grated lemon zest
2 tablespoons honey
1/2 lb. toasted pecan halves ( 350F on a cookie sheet- watch carefully, about 15 min.)

Directions
Step 1: Make a cut the length of the date and remove pit. Place pitted dates on a plate and set aside.
Step 2: In a small bowl combine cheese, honey and lemon zest with a spatula until mixed well.
Step 3: Carefully fill each date with about 2 teaspoons of the cheese mixture for large dates and 1 teaspoon for smaller dates. Place a pecan on top of each filled date. Cover with plastic wrap and refrigerate until ready to serve. Remove 1 hour before you are ready to serve.

Tuesday, June 29, 2010

Hummus


So I'm not sure whether or not this is normal, but we go through a container of hummus a week in the Capital Chef household. I literally buy one every time I do my weekly shopping, and by Friday afternoon, we are scraping the barrel. I have heard a few people mention that hummus is actually really easy to make, so I decided to make this my culinary experiment this week. I was pretty excited about how it turned out. My husband even told me it tasted like the hummus at Zaytinya (favorite DC restaurant), so I decided it was blog worthy. I searched several blogs and message boards and all of the recipes were pretty similar. You can really fine tune this recipe to your own taste buds. For example, if you love garlic, you may want to use 2 garlic cloves instead of one or you could add more cumin and lemon juice if you want those flavors to be a bit stronger. My advice is to start with smaller amounts and taste and adjust accordingly.

Overall, I'm not sure that this is *that* much better than my store bought addiction brand, but in general, I do think making this from scratch is a very easy way to add a more personal touch to any casual gathering.

**The one ingredient I have never used before is Tahini, a thick sesame seed paste. I found it in the aisle of my grocery store that contains Hispanic, Asian, and Middle Eastern foods.

Here is what you will need:

(not pictured: lemon and salt. They were feeling camera shy)

Step 1: Before draining and rinsing the chick peas, set aside a 1/4 cup of the chickpea  juice. Drain and rinse the chickpeas and set aside.

Step 2: Peel and smash a medium clove of garlic with the back of a spoon.


Step 3: Insert a 1/4 cup of Tahini and the smashed garlic clove in the food processor.


Step 3:  Squeeze the juice of 1/2 a lemon over the bowl of the food processor. Blend until it forms a smooth paste.


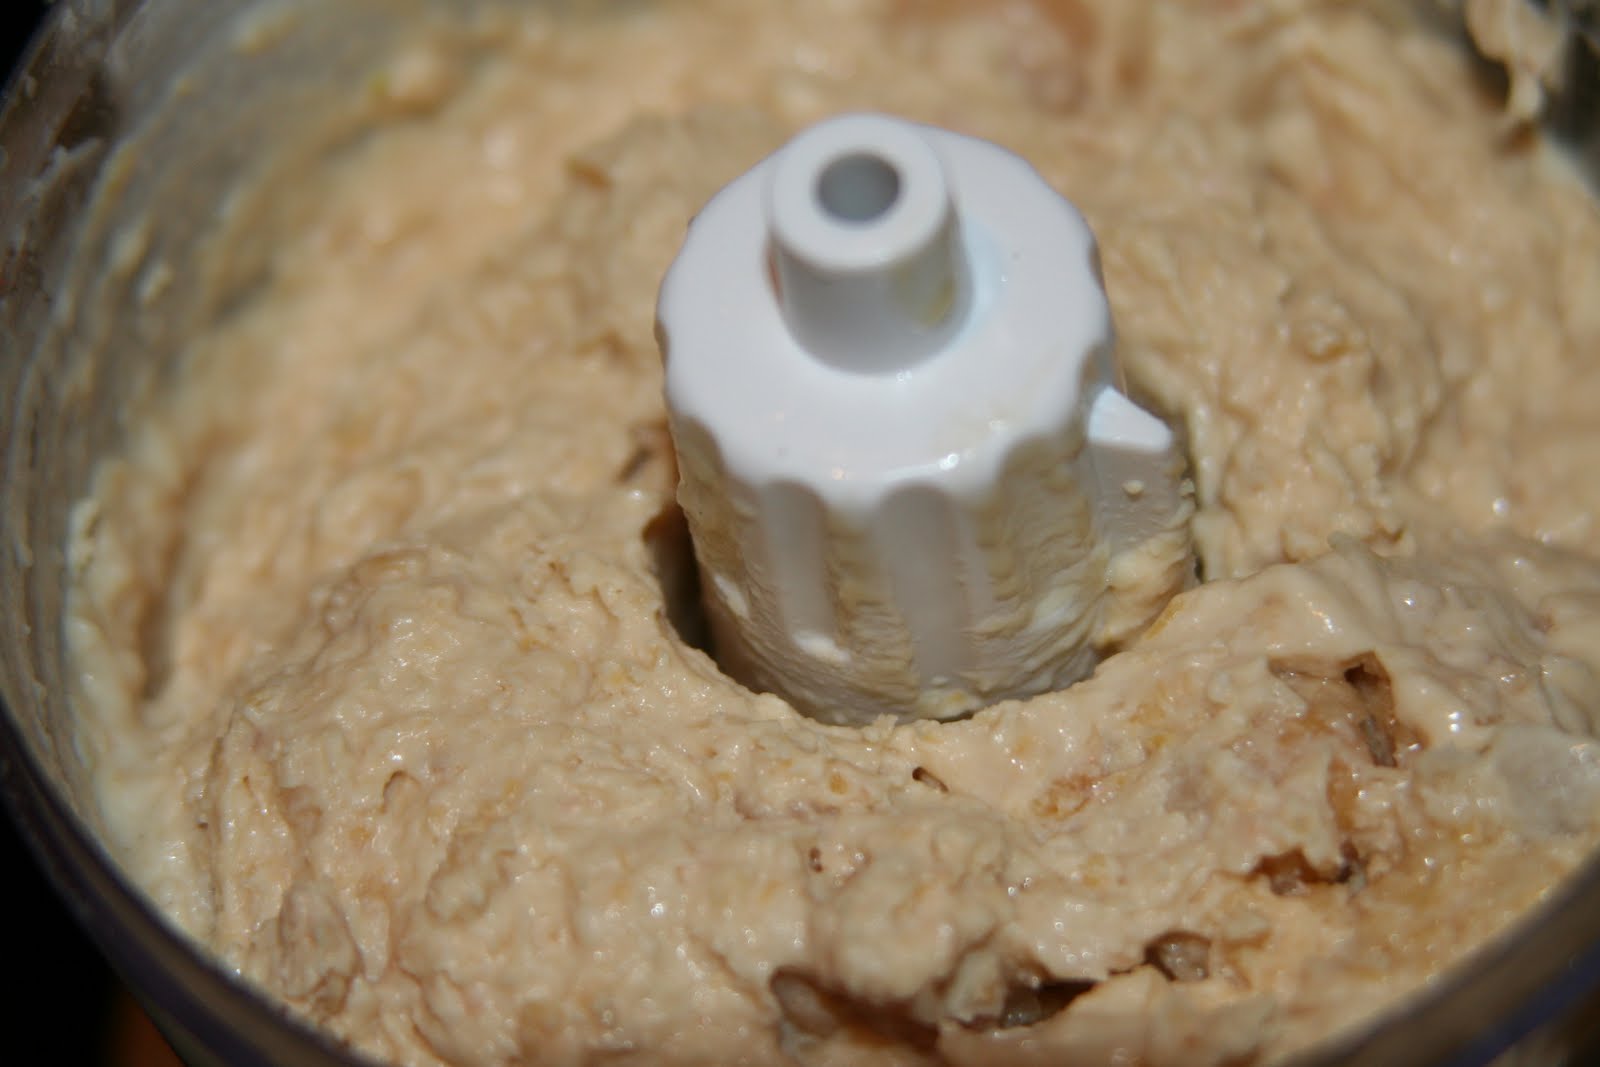
Step 4: Once that paste has been formed, add the can of chick peas and 1/4 cup of the reserved chickpea juice. *I didn't add the juice all at once. I would stop the blender every 30 seconds and add a little more.


It will start to form a thick paste...continue to blend until smooth.

Step 5: Now begin to add the spices. I added a 1/4 teaspoon of cumin, a 1/4 teaspoon of paprika, and a little less than a 1/4 teaspoon of salt. I also added 1 teaspoon of olive oil. After blending this together and taste-testing, I decided to add more lemon juice and strained the other half of the lemon into the mixture. You can add more spices according to your preference, but I think that is a good amount to start with.


After well blended, serve with Pita Chips. Sprinkle with paprika for a nice presentation.


Full List of Ingredients:
15-ounce can of chickpeas, also known as garbanzo beans (reserve 1/4 cup of chickpea water )
1 medium garlic clove, smashed and peeled
1/4 cup of tahini
1 medium lemon
1/4 teaspoon of salt
1 teaspoon of extra-virgin olive oil
1/4 teaspoon ground cumin
1/4 teaspoon paprika
 
Serve with raw vegetables or pita chips.

Thursday, June 24, 2010

Balsamic Glazed Eggplant and Tomato Appetizer


There are moments when this Southern girl feels a bit exhausted by living in the city--particularly in the hot summer months when I leave the metro completed drenched in sweat. But then, there are the little things that make it all worth it. Every spring, for example, the farmer's market down the street from my house reopens, and every Thursday afternoon, on my walk home from work, I have my pick of the freshest fruits and vegetables. It is a foodies paradise.


Today's Purchases 


 (This might be the most fragrant basil I have ever purchased)

Tonight, I decided to get a little fancy with my salad, since I was just heating up some boring chicken leftovers from the night before. This salad was inspired by an appetizer I recently ordered at an Italian restaurant and seemed pretty easy to recreate. While all of the ingredients I used were incredibly fresh, the key ingredient is the tomato, so be sure take advantage of them while they are still in season!


Here is what you will need:


Step 1: Heat the grill on medium high with 3 tablespoons of olive oil. Cut the eggplant into 1/2 inch slices.
 
 Step 2: Sprinkle with kosher salt and place on hot grill.
 Step 3: While the eggplant begins to cook, mix 1 tablespoon of olive oil with 2 tablespoons of balsamic vinegar.

Step 4. When the eggplant appears a bit translucent, spoon balsamic mixture over the eggplant.


Step 5. The eggplant will begin to sizzle, so watch out! Flip the eggplant over and spoon any excess vinegar in the pan over the pieces. (I moved the eggplant all over the grill to make sure most of the vinegar was absorbed.)


Step 6: Turn the heat down and let the eggplant continue to sizzle. Use this opportunity to cut the tomatoes and mozzarella.


Step 7: Begin to stack the salad. One piece of tomato, one piece of mozzarella, a couple of leaves of basil, and one slice of eggplant (do this twice).

Step 8: This is where I decided to get fancy. I pulled out my balsamic glaze from Harris Teeter and sprinkled it all over.
Step 9: Drizzle some olive oil over the plate as well and enjoy!!

Note: For each salad, you will need:
3 slices of tomato
2 slices of eggplant
2 slices of mozzarella
4 small basil leaves

List of Ingredients for 4 servings:
3 tablespoons of olive oil for grill
1 tablespoon of olive oil for glaze
2 tablespoons of balsamic vinegar
kosher salt
8 slices of eggplant (1 medium eggplant)
12 slices of tomato (approximately 3 tomatoes)
8 slices of mozzarella (1 large ball of mozzarella)
16 small basil leaves

Balsamic Glaze
Olive Oil to drizzle