Tuesday, June 29, 2010

Hummus


So I'm not sure whether or not this is normal, but we go through a container of hummus a week in the Capital Chef household. I literally buy one every time I do my weekly shopping, and by Friday afternoon, we are scraping the barrel. I have heard a few people mention that hummus is actually really easy to make, so I decided to make this my culinary experiment this week. I was pretty excited about how it turned out. My husband even told me it tasted like the hummus at Zaytinya (favorite DC restaurant), so I decided it was blog worthy. I searched several blogs and message boards and all of the recipes were pretty similar. You can really fine tune this recipe to your own taste buds. For example, if you love garlic, you may want to use 2 garlic cloves instead of one or you could add more cumin and lemon juice if you want those flavors to be a bit stronger. My advice is to start with smaller amounts and taste and adjust accordingly.

Overall, I'm not sure that this is *that* much better than my store bought addiction brand, but in general, I do think making this from scratch is a very easy way to add a more personal touch to any casual gathering.

**The one ingredient I have never used before is Tahini, a thick sesame seed paste. I found it in the aisle of my grocery store that contains Hispanic, Asian, and Middle Eastern foods.

Here is what you will need:

(not pictured: lemon and salt. They were feeling camera shy)

Step 1: Before draining and rinsing the chick peas, set aside a 1/4 cup of the chickpea  juice. Drain and rinse the chickpeas and set aside.

Step 2: Peel and smash a medium clove of garlic with the back of a spoon.


Step 3: Insert a 1/4 cup of Tahini and the smashed garlic clove in the food processor.


Step 3:  Squeeze the juice of 1/2 a lemon over the bowl of the food processor. Blend until it forms a smooth paste.


Step 4: Once that paste has been formed, add the can of chick peas and 1/4 cup of the reserved chickpea juice. *I didn't add the juice all at once. I would stop the blender every 30 seconds and add a little more.


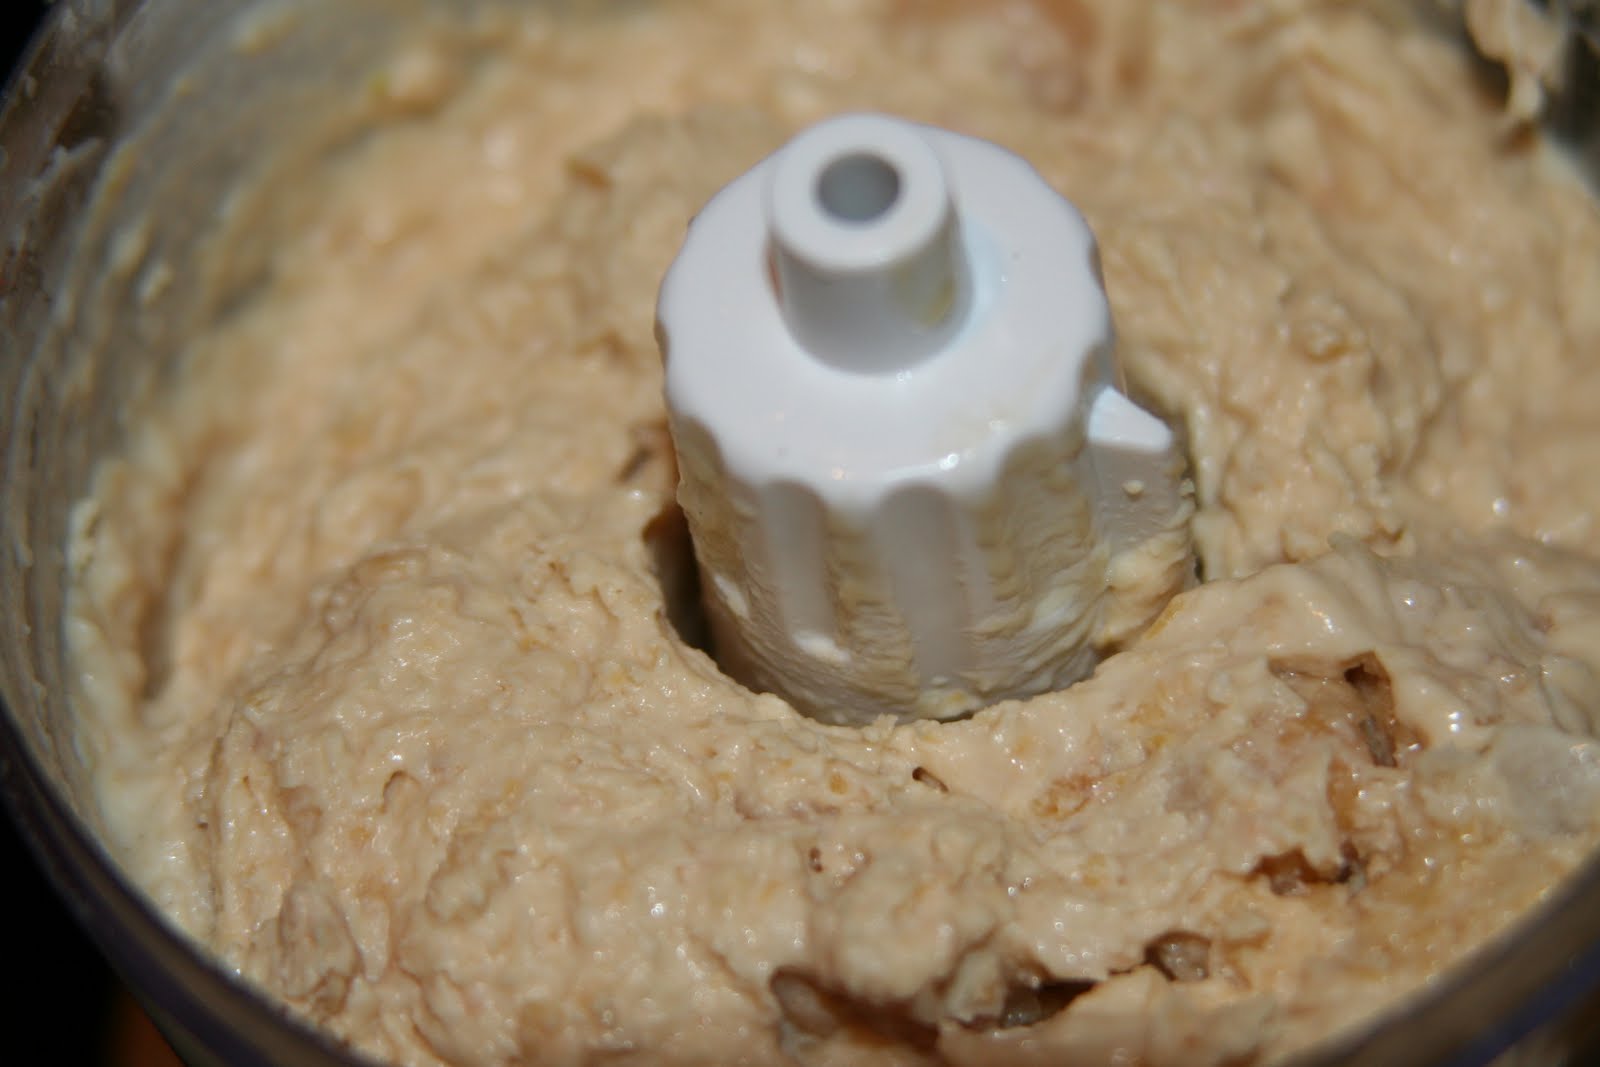
It will start to form a thick paste...continue to blend until smooth.

Step 5: Now begin to add the spices. I added a 1/4 teaspoon of cumin, a 1/4 teaspoon of paprika, and a little less than a 1/4 teaspoon of salt. I also added 1 teaspoon of olive oil. After blending this together and taste-testing, I decided to add more lemon juice and strained the other half of the lemon into the mixture. You can add more spices according to your preference, but I think that is a good amount to start with.


After well blended, serve with Pita Chips. Sprinkle with paprika for a nice presentation.


Full List of Ingredients:
15-ounce can of chickpeas, also known as garbanzo beans (reserve 1/4 cup of chickpea water )
1 medium garlic clove, smashed and peeled
1/4 cup of tahini
1 medium lemon
1/4 teaspoon of salt
1 teaspoon of extra-virgin olive oil
1/4 teaspoon ground cumin
1/4 teaspoon paprika
 
Serve with raw vegetables or pita chips.

Thursday, June 24, 2010

Balsamic Glazed Eggplant and Tomato Appetizer


There are moments when this Southern girl feels a bit exhausted by living in the city--particularly in the hot summer months when I leave the metro completed drenched in sweat. But then, there are the little things that make it all worth it. Every spring, for example, the farmer's market down the street from my house reopens, and every Thursday afternoon, on my walk home from work, I have my pick of the freshest fruits and vegetables. It is a foodies paradise.


Today's Purchases 


 (This might be the most fragrant basil I have ever purchased)

Tonight, I decided to get a little fancy with my salad, since I was just heating up some boring chicken leftovers from the night before. This salad was inspired by an appetizer I recently ordered at an Italian restaurant and seemed pretty easy to recreate. While all of the ingredients I used were incredibly fresh, the key ingredient is the tomato, so be sure take advantage of them while they are still in season!


Here is what you will need:


Step 1: Heat the grill on medium high with 3 tablespoons of olive oil. Cut the eggplant into 1/2 inch slices.
 
 Step 2: Sprinkle with kosher salt and place on hot grill.
 Step 3: While the eggplant begins to cook, mix 1 tablespoon of olive oil with 2 tablespoons of balsamic vinegar.

Step 4. When the eggplant appears a bit translucent, spoon balsamic mixture over the eggplant.


Step 5. The eggplant will begin to sizzle, so watch out! Flip the eggplant over and spoon any excess vinegar in the pan over the pieces. (I moved the eggplant all over the grill to make sure most of the vinegar was absorbed.)


Step 6: Turn the heat down and let the eggplant continue to sizzle. Use this opportunity to cut the tomatoes and mozzarella.


Step 7: Begin to stack the salad. One piece of tomato, one piece of mozzarella, a couple of leaves of basil, and one slice of eggplant (do this twice).

Step 8: This is where I decided to get fancy. I pulled out my balsamic glaze from Harris Teeter and sprinkled it all over.
Step 9: Drizzle some olive oil over the plate as well and enjoy!!

Note: For each salad, you will need:
3 slices of tomato
2 slices of eggplant
2 slices of mozzarella
4 small basil leaves

List of Ingredients for 4 servings:
3 tablespoons of olive oil for grill
1 tablespoon of olive oil for glaze
2 tablespoons of balsamic vinegar
kosher salt
8 slices of eggplant (1 medium eggplant)
12 slices of tomato (approximately 3 tomatoes)
8 slices of mozzarella (1 large ball of mozzarella)
16 small basil leaves

Balsamic Glaze
Olive Oil to drizzle


Sunday, June 20, 2010

Torta de Merengue


"It is like eating a piece of a cloud."--Mr. Capital Chef

I have mentioned before that my parents are originally from Spain. Growing up in Memphis, they built a tight-knit community of Spanish-speaking immigrants, and we didn't consider them "like a second family"--they were family. The family gatherings revolved mostly around food, and this dessert, Torta de Merengue, was the centerpiece (well, in my mind at least). I was thrilled when I recently learned that the local paper in Memphis did a feature on our Chilean friends, and the article included some of my favorite recipes, including the Torta de Merengue. I was surprised by how simple it sounded. As a child, this cake seemed magical. Here is the article: http://www.commercialappeal.com/news/2009/may/06/chiles-catch/ 

The cake is essentially strawberries and whipped cream sandwiched between two meringue layers and then completely smothered in whipped cream to create a smooth texture. Once the cake is assembled, the meringue starts to absorb the cream and becomes light and fluffy. My husband couldn't have described it better: "it is like eating a piece of a cloud." As soon as I took one taste of this cake, it felt like going home. It is amazing how the texture and taste of food has the ability to transport you back in time. As I ate this last night, I remembered all of those family gatherings and even though I don't go back home as often as I would like, I felt so grateful that all of those people still remain in my life--thank God for facebook, right?

**Note: I'm not sure if it just me, but I found it kind of impossible to make the meringues into perfectly flat circles. I don't think it matters though because once you decorate it with the whipped cream, all of the imperfections are covered up.

Here is what you will need for the meringue:


Step 1: Preheat the oven to 200 degrees. To make the meringues, whip the 6 egg whites. **It is really important not to get any egg yolks in the egg white mixture. I break each egg into a small bowl and then pour it into the larger bowl. That way, if you accidentally break the yolk, you will have only ruined one egg, and you don't have to start all over again.

Step 2: When they begin to foam, add a pinch of salt.


 Step 3:  Slowly incorporate the sugar, continuing to whip until the whites hold peaks.
Step 5: Line two baking sheets with parchment paper. I traced 2 9-inch circles using a cake pan, so I had a guide for shaping the meringues.

Step 6: Spread a meringue disk the size of a standard cake on each. Bake until very dry at 200 degrees, which might take as long as 2 hours (it took me 2 hours). Cool and peel off parchment paper.


Here is what you will need for the filling:


Step 1: Whip the cream with the sugar, to taste.


Step 2: If you have a stand mixer, you can leave the cream to mix for a few minutes while you wash and slice the strawberries. Set aside 6-10 whole strawberries (depending on how many you want) to decorate the top of the cake.


The cream should get nice and thick.


Step 3: To assemble, put one meringue disk on a cake plate and spread a generous layer of whipped cream on top.


Then place a layer of strawberries....


Another layer of cream...


Then another layer of strawberries...


Put the remaining meringue on top, then frost the top and sides of the cake with remaining whipped cream. Decorate top with the reserved strawberries. **This cake must be refrigerated...it can start to melt if left out for too long.


List of Ingredients:
(serves 10)
6 large eggs whites at room temperature

Pinch of salt
1 1/2 cup granulated sugar

Filling and topping:
1 quart heavy cream
1/2 to 1 cup sugar, to taste
1 quart strawberries