Showing posts with label cooking light. Show all posts

Thursday, July 22, 2010

Edamame Succotash


My last few posts have focused mainly on desserts, so I decided to take a step back and do as my mother says and "eat more vegetables."

I have never actually liked succotash. Lima Beans have just never really been my thing (no offense to all of the Lima Bean connoisseurs of the world), so when I saw this recipe for edamame succotash, I was intrigued because edamame is definitely my thing. In fact, my college roommate and I went through a phase in college where, instead of eating popcorn, we would steam a bunch of edamame and eat it while watching TV. I think this healthy phase lasted for about a week. In the end, the pull of Thomas Sweet was a little too strong.

I was also drawn to this salad because more than anything, I thought it looked pretty---obviously an important factor in my recipe decision-making. I love the colors in my salad,  in particular, because of the color of the corn I used. If you look closely at the picture, you can see little red corn kernels. When my husband first looked at it, he asked if they were pomegranate seeds. I'm not sure sure whether or not we should be embarrassed, but neither of us had ever eaten red corn before. When I got home and started to peel the corn and saw that it was red, my first instinct was to assume that the corn had gone bad. A few google searches later, and I came to learn that red corn actually has a nuttier and richer flavor than yellow corn.  I have to agree.

This would be a great salad to bring to a summer BBQ potluck because it is pretty versatile in terms of what it can be served with. We ate it with fish the first night and chicken the second, and it went well with both. This can also be served cold, room temperature, or even a little warm (I heated it up in the microwave the second night).

Enjoy!

 
The Recipe

Step 1: Prepare the vegetables. Chop the red pepper, tomatoes, sweet onion, basil, and corn.


Check out my beautiful red corn!


 Step 2: Like all great recipes, this one starts with bacon. Cook bacon in a nonstick skillet over medium heat until crisp. Remove bacon from pan, reserving 2 teaspoons drippings in pan; coarsely chop bacon.


(I placed the bacon between paper towels to absorb the grease.)


Step 3: Increase the heat to medium-high. Melt butter in drippings in pan.


Step 4: Add onion; sauté 3 minutes, stirring occasionally.


Step 5: Add corn kernels; sauté for 3 minutes or until lightly charred.


Step 6: Add edamame, and sauté for 3 minutes, stirring occasionally.


Step 7:  Add red wine vinegar, salt, freshly ground pepper, sugar, tomatoes, and red bell pepper. Cook 30 seconds, stirring occasionally.


Step 8: Sprinkle with bacon and basil and enjoy! You can serve cold or warm. I think I actually preferred it slightly warm, but it was still good the next day straight out of the refrigerator


Recipe Courtesy: Cooking Light Magazine

Ingredients


1 slice center-cut bacon
1 tablespoon butter
2 cups chopped sweet onion ( preferably Vidalia)
2 cups fresh corn kernels (about 3 ears)
1 (16-ounce) bag frozen, shelled edamame, thawed
2 tablespoons red wine vinegar
1/2 teaspoon salt
1/2 teaspoon freshly ground black pepper
1/2 teaspoon sugar
3 plum tomatoes, coarsely chopped
1 red bell pepper, seeded and coarsely chopped
3 tablespoons torn basil

Preparation

1. Cook bacon in a nonstick skillet over medium heat until crisp. Remove bacon from pan, reserving 2 teaspoons drippings in pan; coarsely chop bacon.
2. Increase the heat to medium-high. Melt butter in drippings in pan. Add onion; sauté 3 minutes, stirring occasionally. Add corn kernels; sauté for 3 minutes or until lightly charred. Add edamame, and sauté for 3 minutes, stirring occasionally. Stir in vinegar and next 5 ingredients (through bell pepper); cook 30 seconds, stirring occasionally. Sprinkle with bacon and basil.

Friday, July 16, 2010

Pineapple Sorbet


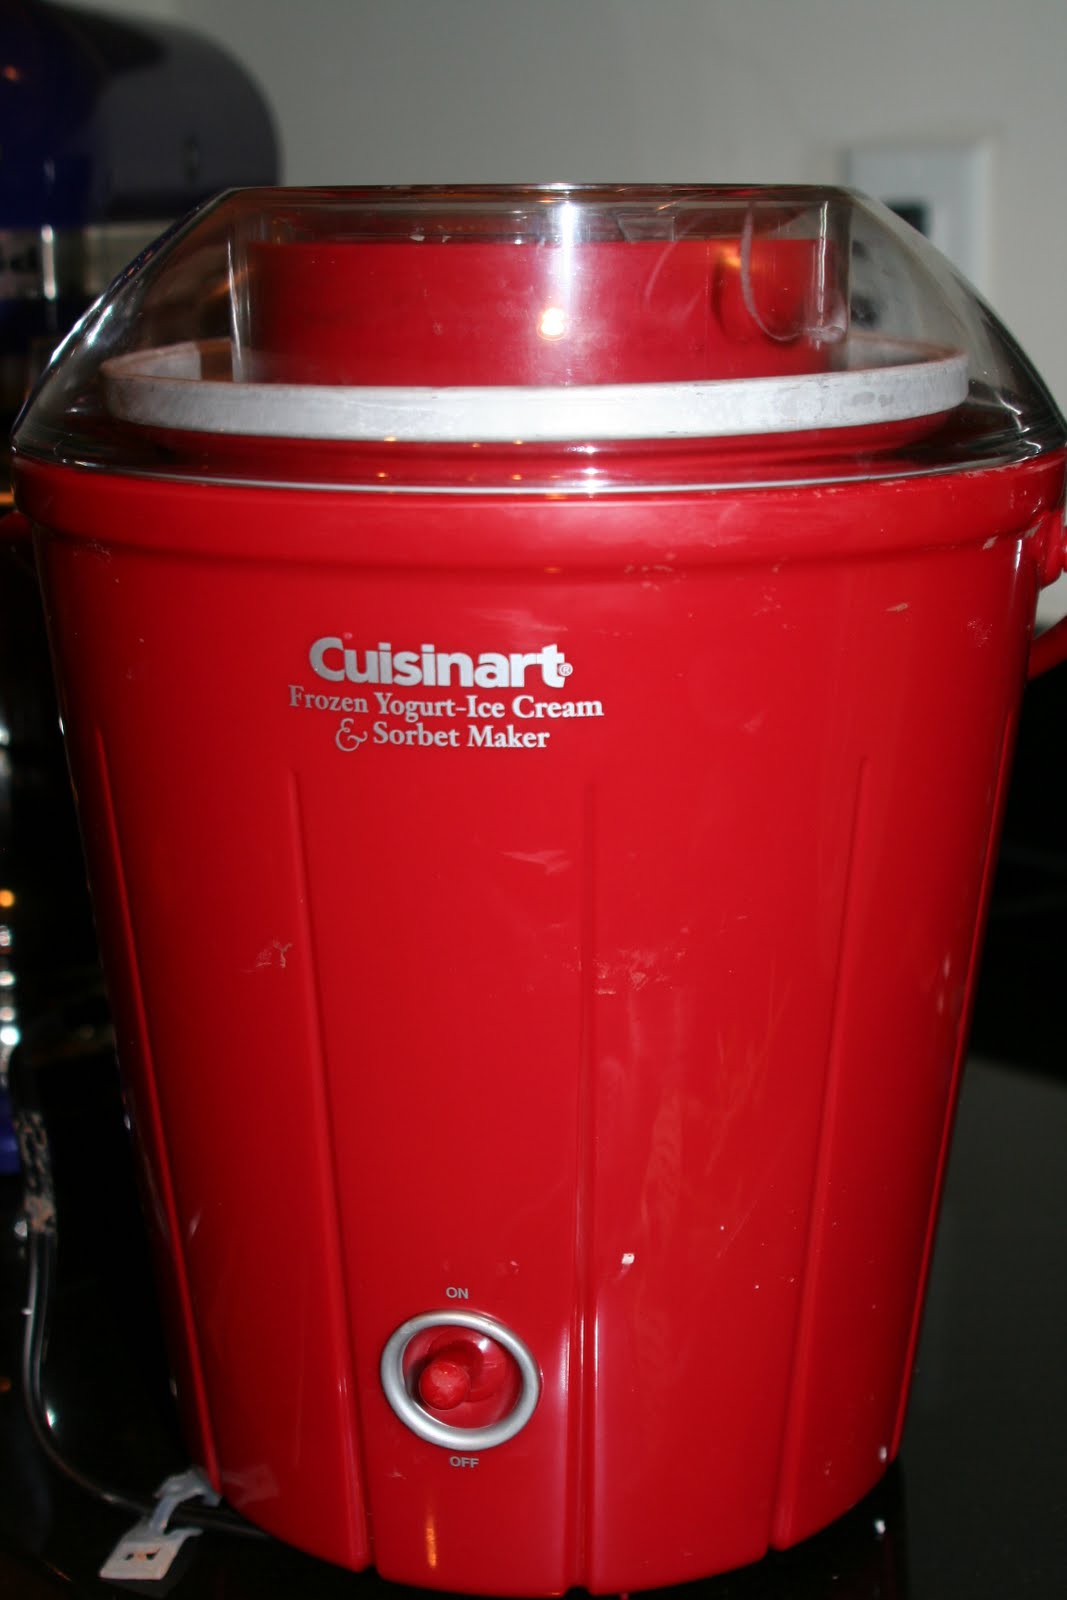
It is H-O-T!! The rain cooled things off just slightly for a couple of days, but today the high was back in the 90s. And, as usual, the heat + humidity is hitting me where it hurts most--my hair. Oh how I wish we were back in the 80s when frizzy hair was all the rage. I'm still not quite sure what the Founding Father's were thinking when they built this city over a swamp! And, of course, the other effect the heat is having on my life is that all I can think about when I step outside is cooling off with a big scoop of ice cream. Seeking out a healthier alternative, I used my ice-cream maker to make sorbet,*  and it turned out really well with an incredibly smooth and creamy texture. This is a 'light' recipe, so it contains less sugar than a lot of sorbet recipes I have seen. And since the pineapple was so sweet and juicy, I could have probably even used a little less sugar.

Overall, I am pretty excited about how well it turned out. I have joked in the past that, if I am really being honest with myself, the store-bought product is probably slightly better than what I end up making, but this was not the case at all with this sorbet. There is definitely an added benefit to making it yourself using fresh fruit. Right now, given that the fruit at the market is so fresh and juicy, the possibilities are endless. Next week, I want to make a raspberry/strawberry combo!

And yes, how do I own a fancy ice-cream maker yet I still don't have a proper food processor? I'm not sure, but clearly, I have my priorities straight. :-)


* Cooking Light offers this alternative if you don't have an ice-cream maker. Use a covered metal bowl. Freeze mixture 3 hours or until it is hard on the outside but slushy in the middle. Remove it from the freezer, beat it with a whisk until smooth, and return to the freezer, covered, for 4 hours until firm.

Here is what you will need:


Step 1: Cut the pineapple into 2-inch pieces.  Because my pineapple chopping job looked like a scene out of a Hollywood horror film, I am going to recommend this link for a MUCH smoother chopping scenario. http://www.howtocutapineapple.com/


This photo needs yellow police tape around it.

Step 2: Juice the lemon and place the pineapple pieces and lemon juice in a food processor; process until smooth.

Step 3: Add sugar; process 1 minute or until sugar dissolves.

Step 4: Pour mixture into the freezer can of an ice-cream freezer; freeze according to manufacturer's instructions.


Best and most impractical Christmas present ever!

It took about 25 minutes in my machine to reach a creamy consistency.

Spoon sorbet into a freezer-safe container. Cover and freeze 1 hour or until firm (we actually ate it immediately--it wasn't quite firm yet but still delicious). Garnish with mint leaves and enjoy!
Recipe Courtesy Cooking Light Magazine

Full List of Ingredients:
1 small pineapple, peeled and cored
2 tablespoons fresh lemon juice
1 cup plus 2 tablespoons sugar
Mint sprigs (optional)

Thursday, July 8, 2010

Low-Fat Blueberry Crumble Pie


So I am 7 months into my little blogging adventure, and I am still trying to get a feel for what people would like to see more or less of each week. I love it when people leave comments with suggestions because I like the idea of this blog being more of a dialogue than my personal cooking diary. Let's be honest, I still have a lot to learn. I also love it when I receive emails from people making special requests. In fact, I scream across the apartment for my husband to come see my "fan mail." I recently received an email from a blog reader who wanted a quick and easy healthy summer dessert, so that is the motivation behind today's blog post. So, long story short, if you email, I will respond.....mostly because I don't really get that many emails, so it is still a pretty big deal. ;-) But seriously, this blog is still very much a work in progress, so if you have any advice, I would love to hear it.

I have been making this blueberry crumble since I was in college. It isn't exactly worthy of a special occasion, although my husband did request it once for his birthday. In fact, now that I have really taken up baking, I find myself slightly apologetic that I am using a pre-made crust. I suppose you could make the crust from scratch....but the beauty of this dessert is that it is easy and casual---and best of all, low in fat. And since we are in the middle of bathing suit season, I could use more desserts like this and less desserts like this.

The recipe is pretty simple, and it really lets the natural sugars of the blueberries shine through without adding too many additional ingredients. It is best served warm, but there have been times when we eat it straight out of the fridge because it is just that good.

Here is what you will need:


Step 1: Preheat oven to 375°. Rinse 5 cups of blueberries and place in pie plate.


Step 2. Combine brown sugar, flour, vanilla, rind, and sour cream; spread over blueberries.


Step 3: Combine breadcrumbs, granulated sugar, and margarine; sprinkle over sour cream mixture.

Step 4: Bake at 375° for 40 minutes or until set and crumbs are lightly browned. Cool 1 hour on a wire rack (if you can wait that long).

Recipe Courtesy: Cooking Light Magazine

Ingredients


5 cups fresh or frozen blueberries
1 (9-inch) reduced-fat graham-cracker crust
3/4 cup packed brown sugar
3 tablespoons all-purpose flour
1 1/2 teaspoons vanilla extract
1/4 teaspoon grated lemon rind
1 (8-ounce) carton low-fat sour cream
1/4 cup dry breadcrumbs
1 tablespoon granulated sugar
1 tablespoon margarine, melted

Thursday, April 8, 2010

Shrimp Tacos with Fruit Salsa


I have a short list of recipes from cooking light that have become standard weeknight fare in my home. Recently, I have been looking for some new healthy recipes to add to my repertoire though, and after perusing the cooking light website, this recipe for shrimp tacos with fruit salsa caught my eye. I was hoping this recipe would make enough for leftovers, but we ate every last bite. It was really good!

With just a few adjustments, this meal could easily go from a regular weeknight meal to "guest-worthy." Using fresh fruit rather than canned fruit would make it an ideal summer meal, and my husband suggested adding a touch of jalapeno to the salsa next time to add an additional kick (but that is pretty much his suggestion for every meal). I also used twice as much chili powder and cumin than the recipe called for to give the shrimp a bit more flavor. This meal would also be perfect with a side of fresh guacamole.

Overall, this was really easy to prepare. Between cleaning the shrimp and chopping the vegetables and stove-top time, it only took about 45 minutes (and that includes stopping to take pictures, of course).


Here is what you will need for the salsa:


Step 1: To prepare the salsa, combine the green onions, cilantro, green chiles, lemon juice, mandarin oranges, and pineapple bits in a bowl. Cover and chill. ****This salsa would definitely improve in taste with some fresh fruit vs. canned and for a bit of a kick, a 1/2 teaspoon of a jalapeno pepper.


Here is what you will need for the shrimp tacos:


Step 1: Chop the veggies.


Step 2: Place a large nonstick skillet coated with cooking spray over medium-high heat until hot. Add bell pepper, onion, and garlic; sauté 2-5 minutes.


Step 3: Add shrimp, tomato, cumin, and chili powder; sauté 3 minutes or until shrimp are done.


Step 4: Stir in cilantro. ***At this point, I tasted the shrimp and added an additional 1/2 teaspoon of cumin and 1/2 teaspoon of chili powder because it need a little more flavor. I would advise testing it as well and adjusting the seasoning.


Step 5: Spoon 1/2 cup shrimp mixture over one half of each tortilla, and top with about 3 tablespoons cheese and 2 tablespoons salsa; fold tortillas in half.


Full List of Ingredients for the Salsa:
1/4 cup chopped green onions
1 tablespoon chopped fresh cilantro
1 tablespoon canned chopped green chiles
1 tablespoon lemon juice
1 (11-ounce) can mandarin oranges in light syrup, drained
1 (8-ounce) can pineapple tidbits in juice, drained

Full List of Ingredients for the Shrimp Taco Filling:
Cooking spray
1 cup yellow bell pepper strips
1 cup vertically sliced red onion
1 garlic clove, minced
1 1/2 pounds medium shrimp, peeled and deveined
1 cup chopped tomato
1/2 teaspoon ground cumin (I used 1 teaspoon)
1/2 teaspoon chili powder (I used 1 teaspoon)
2 tablespoons chopped fresh cilantro
8 (6-inch) flour tortillas
1 1/4 cups (5 ounces) shredded reduced-fat Monterey Jack cheese

Thursday, April 1, 2010

Malaysian Chicken Pizza


Malaysian Chicken Pizza is a weekday favorite in my house. When I make it,I feel like we are eating at California Pizza Kitchen. This recipe originally came from cooking light, but like all recipes I take from cooking light, I tweaked it a little bit. This probably makes it a little less "light" but ultimately, it became a dish my husband requests all the time--so I think the changes were worth it.

The first few times I made this pizza, I had the issue that the sauce never became very thick and would drip over the edges and burn. I realized the sauce needed to simmer for at least 10-12 minutes (the directions said 6 minutes), and extra peanut butter really helped too (3 heaping tablespoons versus 2) as well as firmly packing the brown sugar. I also started adding extra mozzarella in order to keep the sauce from running over the edges. Again, this probably makes the pizza a little less "light" but much more successful.

Here is what you will need:


Step 1: Preheat oven to 500°. Chop the chicken into bite-sized pieces.


Step 2: Heat a nonstick skillet coated with cooking spray over medium heat. Add chicken, and sauté 2 minutes.


Step 3: While the chicken is cooking, combine the first 8 ingredients in a bowl--peanut butter, rice vinegar, crushed red pepper, water, minced ginger, brown sugar, low-sodium soy sauce, and garlic; stir well with a whisk.


Step 4: Remove chicken from pan. Pour the rice vinegar mixture into the pan, and bring it to a boil over medium-high heat. Cook mixture until slightly thickened. This always takes me at least 10-12 minutes.


Step 5: Return the chicken to the pan; cook for 1 minute or until the chicken is done. (Mixture will be the consistency of thick syrup.)


Step 6: Sprinkle cheese over prepared crust, leaving a 1/2-inch border (I don't measure this, I just sprinkle it all over the pizza---if you really want to keep this light, use the measurements from the original ingredients listed below), and top with the chicken mixture. I cannot emphasize enough, just spoon the chicken onto the pizza with a little bit of sauce, and leave a decent border. If the pizza looks sufficiently covered, do not pour the remaining sauce over the pizza because it will drip over the crust and burn.


Step 7: Bake at 500° for 12 minutes on the bottom rack in oven. Sprinkle with green onions. Place pizza on a cutting board; let stand 5 minutes.


The list of ingredients:
3/4 cup rice vinegar
1/4 cup firmly packed brown sugar
1/4 cup low-sodium soy sauce
3 tablespoons water
1 tablespoon minced peeled fresh ginger
2 tablespoons chunky peanut butter (I find 3 heaping tablespoons makes for a much better pizza)
1/2 to 3/4 teaspoon crushed red pepper
4 garlic cloves, minced
Cooking spray
1/2 pound skinless, boneless chicken breasts, cut into bite-sized pieces
1/2 cup (2 ounces) shredded reduced-fat, reduced-sodium Swiss cheese (I only use mozzarella because that is what I usually have on hand)
1/4 cup (1 ounce) shredded part-skim mozzarella cheese
1 (12-inch) Basic Pizza Crust
1/4 cup chopped green onions