
Showing posts with label chocolate. Show all posts

Monday, December 20, 2010

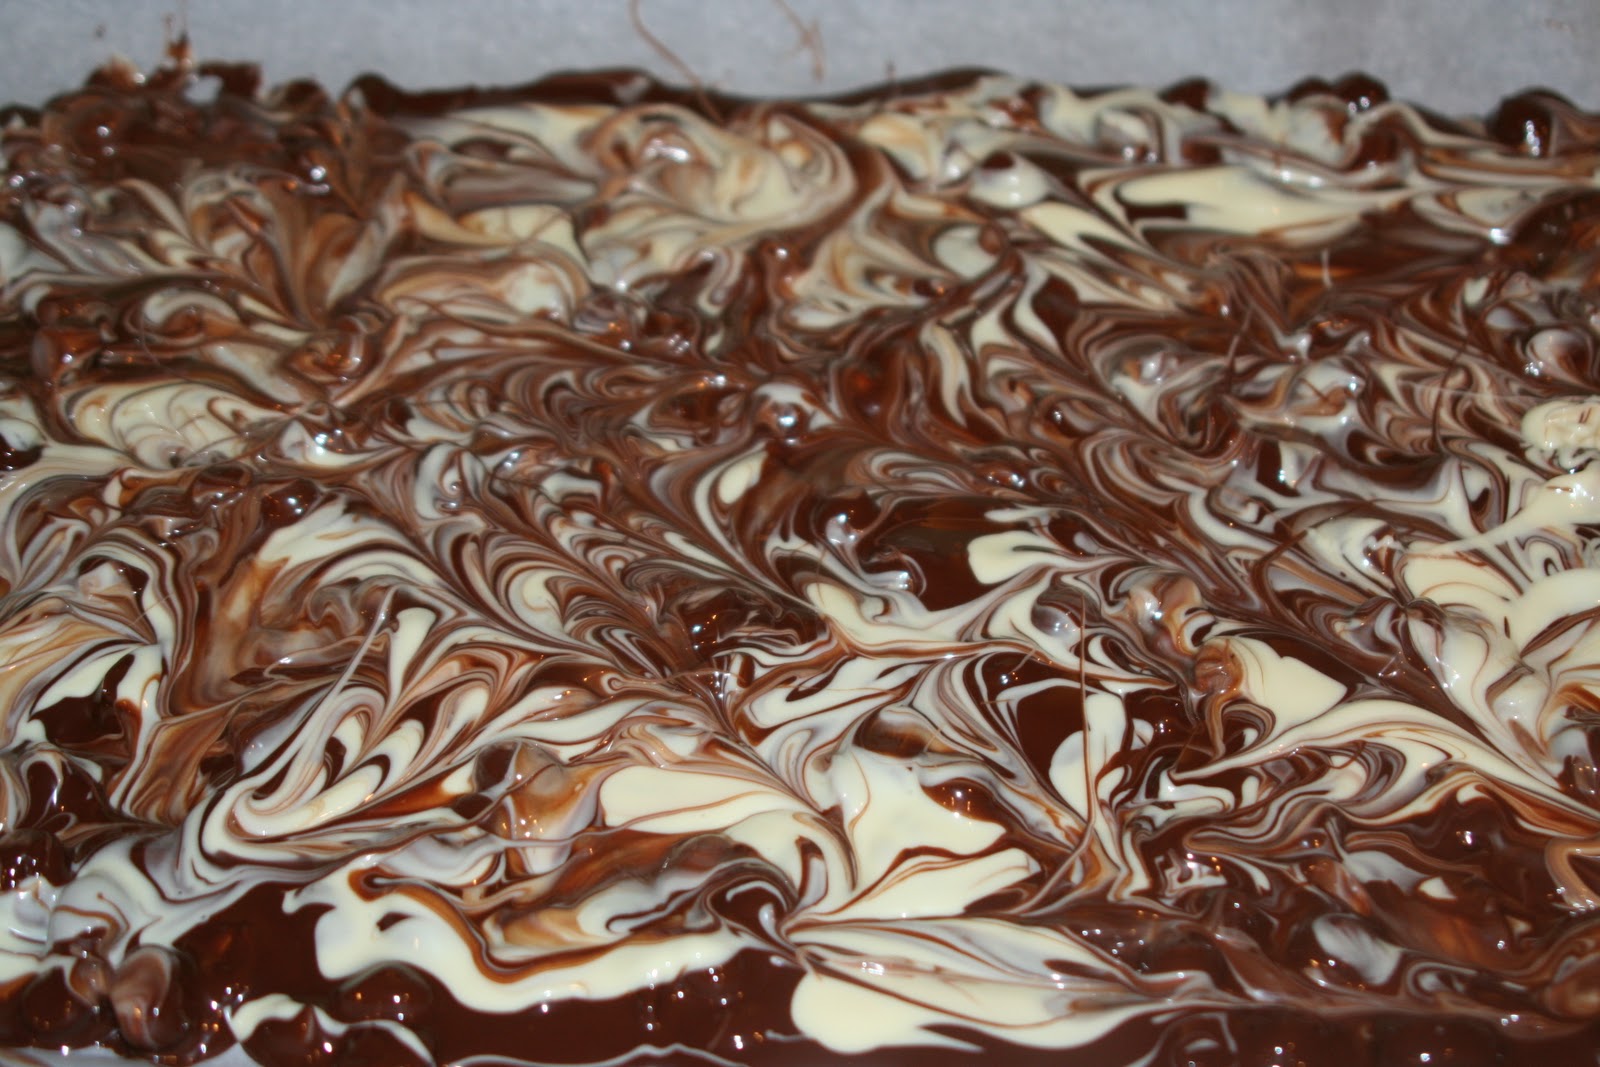
Chocolate Winter Bark


Just a few days left until Christmas! Do you have all of your presents yet? I do! But if you are running out of time (and money!) and need something quick and easy, a homemade present is the perfect way to make someone feel special without breaking the bank. This recipe took around 10 minutes of active preparation and consists of only 3 ingredients. The results look super gourmet, so your friends/co-workers will be impressed.


Step 1. Place white chocolate in a microwave safe bowl and heat in microwave according to the directions on the package until smooth (approximately1 minute 30 seconds, then stir until smooth).


Step 2. Place bittersweet chocolate in microwave safe bowl and heat in microwave according to the directions on the package until smooth (approximately 1 minute 30 seconds, stir, and then an additional 50 seconds, and then stir until smooth)


Step 3. Stir peanuts into melted bittersweet chocolate.


Step 4. Spread on a parchment-lined rimmed baking sheet, spreading peanuts in a single layer.


Step 5. Drop spoonfuls of white chocolate on top, and swirl chocolates with a skewer.


Step 6. Refrigerate until set, about 1 hour. Break bark into large pieces.


Enjoy!


Recipe Courtesy: Martha Stewart

Makes 1 1/4 pounds

8 ounces white chocolate, chopped
12 ounces bittersweet chocolate, chopped
7 ounces salted cocktail peanuts (1 1/2 cups)

Directions
1.Place white chocolate in a microwave safe bowl and heat in microwave according to the directions on the package until smooth (approximately 1 minute, 30 seconds).

2. Place bittersweet chocolate in microwave safe bowl and heat in microwave according to the directions on the package until smooth (approximately 1 minute, 30 seconds, then stir, and then an additional 50 seconds in the microwave).

3. Stir in peanuts into melted bittersweet chocolate. Spread on a parchment-lined rimmed baking sheet, spreading peanuts in a single layer. Drop spoonfuls of white chocolate on top, and swirl chocolates with a skewer. Refrigerate until set, about 1 hour. Break bark into large pieces. Bark will keep, covered and refrigerated, for up to 2 weeks.
Thursday, September 2, 2010

Whole-Wheat Brownies


So one of the reasons I started this blog was not only to force myself to constantly try new recipes but to also try recipes I might ordinarily shy away from. Well, this past Sunday, I finally got past my bizarre fear of yeast, and tonight, I finally tried two healthy baking alternatives that I had been curious about for a while now.  This recipe substitutes whole-wheat flour for half of the white flour and applesauce for the oil. I wasn't very confident that I would be blogging about this recipe with positive reviews, but actually, the brownies turned out really well. I couldn't get over how moist they were, and the chocolate chunks sprinkled on top really add a nice touch.

Now, I'm going to break it down: these are not the ultra-rich fudgy brownies you might find at a gourmet bakery, BUT they are a  great weeknight treat that you can eat without feeling super guilty. And the greatest test of all, I didn't reveal to my husband that these were made with whole-wheat flour and applesauce until after he took his second brownie. He genuinely liked them, and he never likes any of the random organic low-fat cookies I bring home from the grocery store.

The final verdict: I probably wouldn't make these for guests or a party (my mom passed on the belief that you don't invite people over to put them on a diet), but I will definitely make these again for myself...and maybe my husband if I decide to share. :-)

(and yes, I am still working on the new website....this may take a while, ha)

THE RECIPE
Here is what you will need:


Step 1:  Preheat oven to 350 degrees. Butter an 8-in. square baking dish; line with parchment paper leaving a 2-in. overhang on all sides. (note: I do not have an 8-in. square baking dish, and I was running out of parchment paper....so this isn't the greatest example, but it did the trick! This makes cutting perfect brownies MUCH easier). Also, go ahead and start boiling water for Step 4.


Step 2:  In a medium bowl, whisk together flours, cocoa, baking powder, salt, and baking soda.


Step 3:  In a large bowl, stir together sugar, applesauce, and egg.


Step 4: Place butter and 6 ounces of chocolate in a heatproof bowl set over (not in) a pot of simmering water; stir until melted. (Note: No need for a fancy double-boiler...just a heat proof bowl over hot water.)


Step 5: Stir chocolate mixture into sugar mixture. Stir in flour mixture.


Step 6: Pour into pan and top with 2 ounces chocolate.


Step 7: Bake until a toothpick inserted in center comes out with moist crumbs attached, 40 minutes. Let cool in pan on a wire rack. Use parchment paper to lift cake from pan and cut into 16 squares.


ENJOY!

Recipe Courtesy: Martha Stewart in her Everyday Food Magazine

Ingredients
6 tablespoons unsalted butter, melted, plus more for pan
1/2 cup all-purpose flour (spooned and leveled)
1/2 cup whole-wheat flour (spooned and leveled)
1/3 cup unsweetened cocoa powder
1 1/4 teaspoons baking powder
1 teaspoon coarse salt
1/4 teaspoon baking soda
1 cup packed light-brown sugar
1 1/4 cups unsweetened applesauce
1 large egg
8 ounces semisweet chocolate, coarsely chopped

Step 1. Preheat oven to 350 degrees. Butter an 8-in. square baking dish; line with parchment paper leaving a 2-in. overhang on all sides. In a medium bowl, whisk together flours, cocoa, baking powder, salt, and baking soda.

Step 2. In a large bowl, stir together sugar, applesauce, and egg. Place butter and 6 ounces of chocolate in a heatproof bowl set over (not in) a pot of simmering water; stir until melted. Stir chocolate mixture into sugar mixture. Stir in flour mixture. Pour into pan and top with 2 ounces chocolate.

Step 3. Bake until a toothpick inserted in center comes out with moist crumbs attached, 40 minutes. Let cool in pan on a wire rack. Use parchment paper to lift cake from pan and cut into 16 squares. (Store in airtight container, up to 5 days) Makes 16.

Wednesday, January 27, 2010

Chocolate Ganache Cupcakes


I have yet to try a recipe from Martha Stewart's website that isn't immediately deemed "the most delicious thing I have ever tasted." She always hits the right note between sticking to the classic recipe and adding her own twist. Too often celebrity chefs feel the need to throw a curveball ingredient like wasabi into cake mix just because they want to be different, but at the end of the day, they've strayed too far from the original essence of the dessert, and well... it's just not that good.

This recipe for devil's food cake with ganache icing is another example of Martha's handywork. The sourcream in the cake mix adds the perfect hint of tang,and the bittersweet ganache icing is just sinful enough for this devil's food cake.

Here is what you will need:


Step 1: Preheat oven to 350 degrees. Line standard muffin tins with paper liners. Whisk together cocoa and hot water until smooth (pictured below). In another bowl, whisk together flour, baking soda, baking powder, and salt (not pictured, but let's use our imaginations).


Step 2: Melt butter with sugar in a saucepan over medium-low heat, stirring to combine. Remove from heat, and pour into a mixing bowl. With an electric mixer on medium-low speed, beat until mixture is cooled, 4 to 5 minutes. Add eggs, one at a time, beating until each is incorporated, scraping down sides of bowl as needed (I cannot seem to master the art of cracking eggs and taking photos at the same time). Add vanilla, then cocoa mixture, and beat until combined.


Step 3: Reduce speed to low. Add flour mixture in two batches, alternating with the sour cream, and beating until just combined after each.


Step 4: Divide batter evenly among lined cups, filling each three- quarters full. **Take your time on this step because when the cupcakes look even in height, the presentation is much more "professional." I used 2 scoops of a ladel to make the cupcakes consistent.
Bake, rotating tins halfway through, until a cake tester inserted in centers comes out clean, about 20 minutes. Transfer tins to wire racks to cool 15 minutes; turn out cupcakes onto racks and let cool completely. ***Cupcakes can be stored overnight at room temperature, or frozen up to 2 months, in airtight containers.


Now let's talk about the ganache icing.

Here is what you will need:


Step 1:Place chocolate in a large heatproof bowl. Bring cream and corn syrup just to a simmer over medium-high heat; pour mixture over chocolate. Let stand, without stirring, until chocolate begins to melt. Beginning near the center and working outward, stir melted chocolate into cream until mixture is combined and smooth (do not overstir).


Step 2:Refrigerate, stirring every 5 minutes, until frosting just barely begins to hold its shape and is slightly lighter in color. I stirred it every 5 minutes for about 45 minutes. At that point, it started to finally hold it's shape. This can be kind of tricky, so be patient. Use immediately (ganache will continue to thicken after you stop stirring).

Step 3: To finish, use a small offset spatula to spread cupcakes with frosting. Refrigerate up to 3 days in airtight containers; bring to room temperature and garnish with chocolate curls just before serving. To make the curls, I used a vegetable peeler and a bar of chocolate and shaved them off. Very easy.


List of ingredients for the devil's food cake:

3/4 cup unsweetened Dutch-process cocoa powder
3/4 cup hot water
3 cups all-purpose flour
1 teaspoon baking soda
1 teaspoon baking powder
1 1/4 teaspoons coarse salt
1 1/2 cups (3 sticks) unsalted butter
2 1/4 cups sugar
4 large eggs, room temperature
1 tablespoon plus 1 teaspoon pure vanilla extract
1 cup sour cream, room temperature

List of ingredients for the ganache icing:

1 pound good-quality bittersweet chocolate, finely chopped
2 1/3 cups heavy cream
1/4 cup corn syrup
chocolate bar for chocolate curls